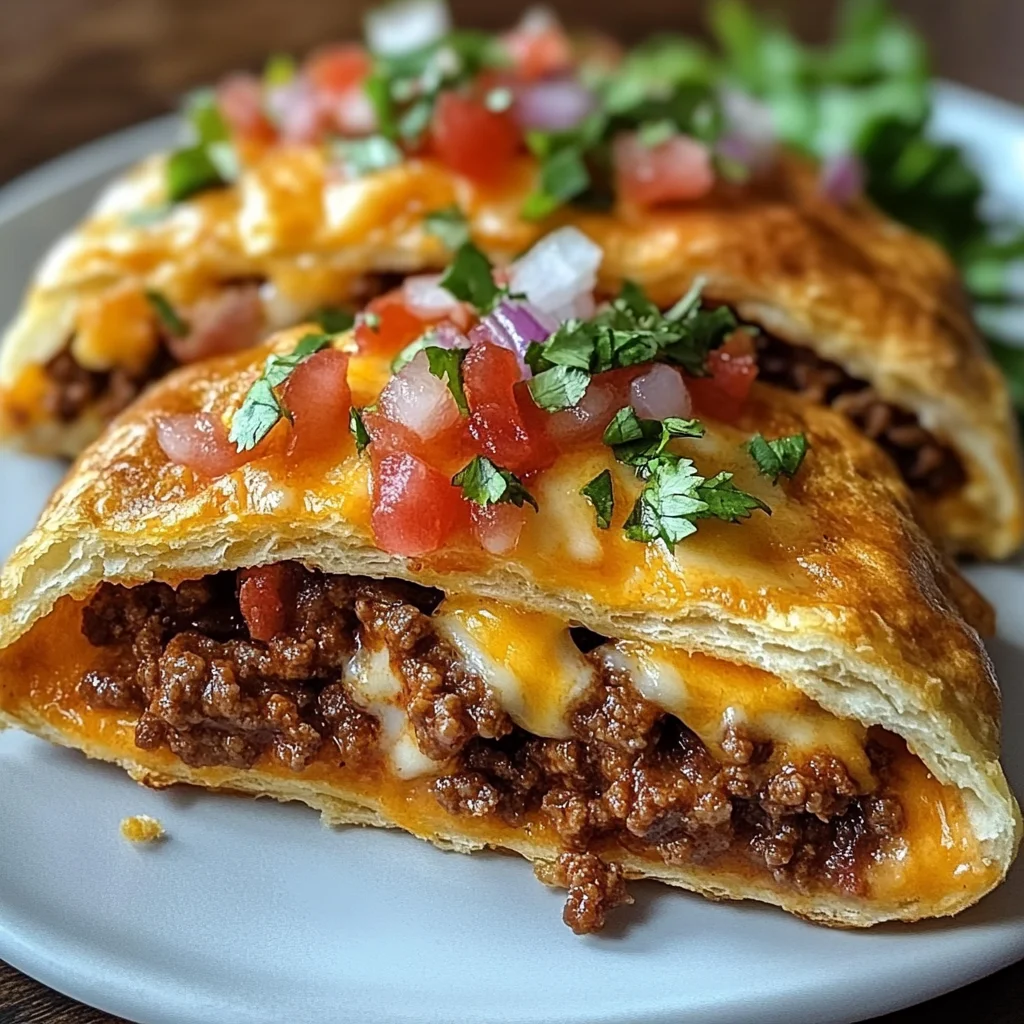
Loaded Cheesy Pocket Tacos
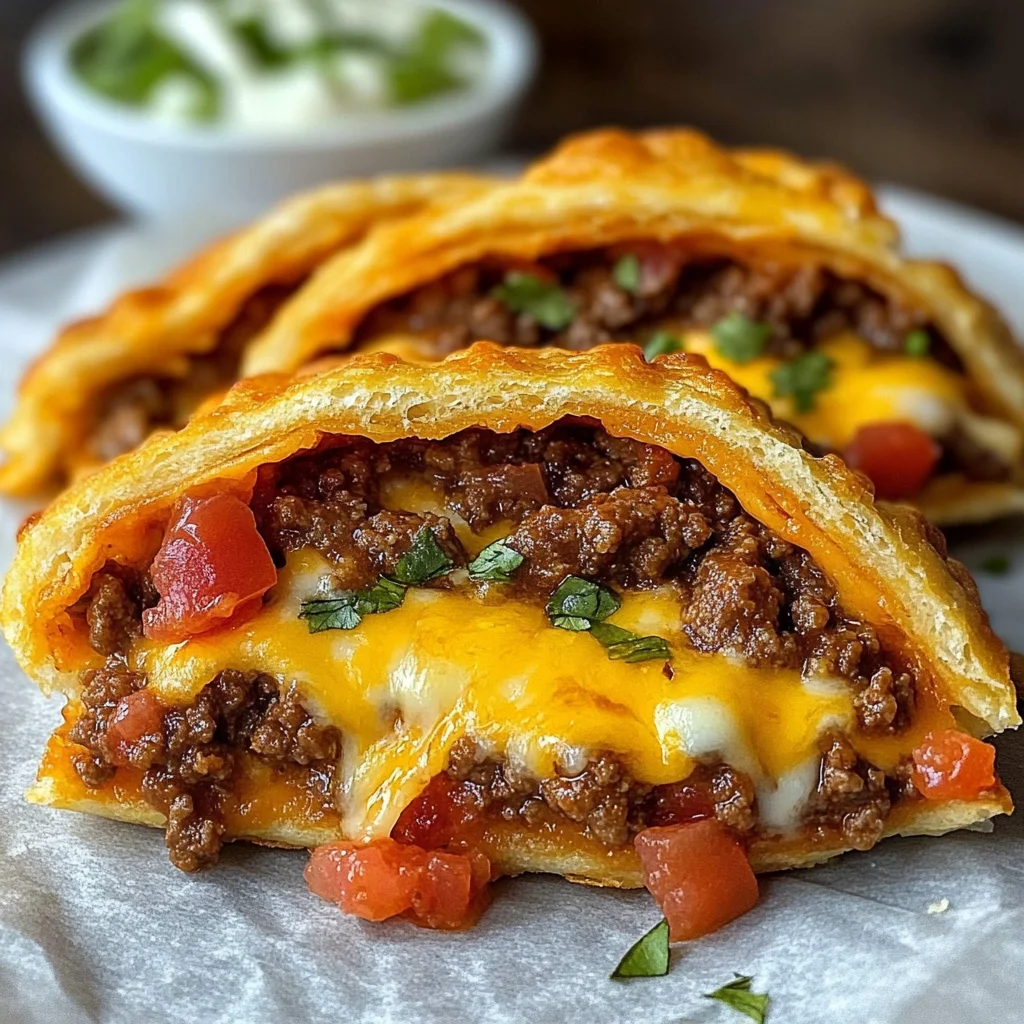
Loaded Cheesy Pocket Tacos are the perfect blend of flavor and convenience. These delightful bites are packed with seasoned beef, melty cheese, and zesty salsa, all wrapped in a golden biscuit crust. Whether you’re hosting a game day party or looking for a quick weeknight dinner, these tacos are sure to impress. Their versatility means they can be customized with your favorite toppings, making them a hit for all occasions.
Why You’ll Love This Recipe
- Quick and Easy: This recipe comes together in under 30 minutes, making it perfect for busy nights.
- Flavor Packed: Each bite is bursting with savory beef, creamy cheese, and spicy salsa that will tantalize your taste buds.
- Customizable: Load them up with your favorite toppings like sour cream and fresh veggies for a personalized touch.
- Kid-Friendly: The fun shape and cheesy filling are sure to please even the pickiest eaters.
- Great for Entertaining: These pocket tacos make an excellent appetizer or snack for gatherings.
Tools and Preparation
To prepare Loaded Cheesy Pocket Tacos, you’ll need a few essential tools that make the cooking process smooth and easy.
Essential Tools and Equipment
- Skillet
- Baking sheet
- Rolling pin (optional)
- Fork
Importance of Each Tool
- Skillet: A good skillet ensures even cooking of the ground beef, allowing it to brown nicely before seasoning.
- Baking sheet: Using a baking sheet is crucial for even baking and helps achieve that golden-brown crust.
- Fork: The fork is essential for sealing the edges of the biscuits thoroughly to keep all that delicious filling inside.
Ingredients
For the Filling
- 1 lb ground beef
- 1 packet taco seasoning
- 1/4 cup water
- 1 cup shredded cheddar cheese
- 1/2 cup salsa
For the Dough
- 1 can refrigerated biscuit dough (8 biscuits)
Optional Toppings
- Sour cream
- Lettuce
- Diced tomatoes
How to Make Loaded Cheesy Pocket Tacos
Step 1: Preheat the Oven
Preheat your oven to 375°F (190°C) to ensure it’s hot enough for baking the tacos perfectly.
Step 2: Cook the Beef
- In a skillet over medium heat, brown 1 lb of ground beef until fully cooked.
- Drain any excess fat from the skillet.
- Add 1 packet of taco seasoning and 1/4 cup of water to the beef.
- Stir well and let it simmer for about 2–3 minutes until combined.
Step 3: Prepare the Biscuits
- Open the can of refrigerated biscuit dough and separate the biscuits.
- Flatten each biscuit into a 5-inch circle on a clean surface.
Step 4: Fill and Seal
- Spoon some of the beef mixture into the center of each flattened biscuit.
- Add a sprinkle of shredded cheddar cheese and a spoonful of salsa on top.
- Fold over each biscuit circle to enclose the filling completely.
- Use a fork to seal the edges tightly.
Step 5: Bake
Place your filled pocket tacos on a baking sheet lined with parchment paper. Bake in the preheated oven for about 12–15 minutes or until they turn golden brown.
Step 6: Serve
Once baked, remove them from the oven and let them cool slightly. Serve warm with your choice of optional toppings like sour cream, lettuce, or diced tomatoes. Enjoy your Loaded Cheesy Pocket Tacos!
How to Serve Loaded Cheesy Pocket Tacos
Loaded Cheesy Pocket Tacos are a fun and delicious way to enjoy taco night. These tasty pockets can be customized with various toppings and sides to suit your taste.
Classic Taco Toppings
- Sour Cream: A creamy addition that balances the spices in the tacos.
- Shredded Lettuce: Adds a refreshing crunch and color.
- Diced Tomatoes: Juicy tomatoes enhance the flavor and provide freshness.
Salsas and Sauces
- Pico de Gallo: A fresh salsa made from tomatoes, onions, and cilantro for an extra kick.
- Guacamole: Creamy avocado dip that pairs perfectly with the cheesy goodness.
- Hot Sauce: For those who like some heat, a drizzle of hot sauce can elevate the flavors.
Side Suggestions
- Rice: Fluffy Mexican rice as a filling side dish complements the tacos well.
- Refried Beans: Creamy beans add protein and texture, making your meal more satisfying.
How to Perfect Loaded Cheesy Pocket Tacos
Making the perfect Loaded Cheesy Pocket Tacos is easy with a few simple tips. Follow these suggestions for an even tastier treat!
- Use Fresh Ingredients: Fresh veggies make a noticeable difference in flavor.
- Don’t Overstuff: Filling should be generous but not overflowing; this helps keep everything sealed.
- Seal Well: Ensure edges are tightly sealed to prevent filling from leaking during baking.
- Adjust Seasoning: Taste your beef mixture before sealing; adjust seasoning for personal preference.
- Experiment with Cheese: Try different types of cheese for varied flavors, like pepper jack or mozzarella.
Best Side Dishes for Loaded Cheesy Pocket Tacos
Pair your Loaded Cheesy Pocket Tacos with delicious sides to create a complete meal. Here are some great options:
- Spanish Rice: Flavored with tomatoes and spices, this rice is a classic pairing.
- Corn on the Cob: Grilled or boiled corn adds sweetness and crunch.
- Chips and Salsa: A crunchy appetizer that’s perfect for dipping while waiting for the tacos.
- Black Beans Salad: A refreshing salad with black beans, corn, and lime dressing.
- Queso Dip: Melted cheese dip served warm with tortilla chips enhances your taco experience.
- Mexican Street Corn (Elote): Grilled corn coated in mayo, cheese, and chili powder for a tasty twist.
Common Mistakes to Avoid
Making Loaded Cheesy Pocket Tacos can be simple, but many people make common mistakes that can ruin the deliciousness. Here are some pitfalls to avoid.
- Skipping the taco seasoning: Forgetting to add taco seasoning to your beef can result in bland tacos. Be sure to mix it in well for maximum flavor.
- Overfilling the biscuits: Adding too much filling can lead to messy tacos that won’t seal properly. Stick to a moderate amount of beef, cheese, and salsa.
- Not sealing edges properly: If you don’t seal the edges well, the filling may leak out while baking. Use a fork to press down firmly on the edges.
- Baking at incorrect temperature: Baking at a temperature that’s too low can prevent them from browning nicely. Always preheat your oven to 375°F (190°C).
- Ignoring optional toppings: Skipping toppings like sour cream or lettuce can make your tacos less appealing. Don’t forget to add those finishing touches for extra flavor and texture.
Storage & Reheating Instructions
Refrigerator Storage
- Store leftovers in an airtight container.
- They will last up to 3 days in the refrigerator.
Freezing Loaded Cheesy Pocket Tacos
- Place cooled tacos in a freezer-safe bag or container.
- They can be frozen for up to 2 months.
Reheating Loaded Cheesy Pocket Tacos
- Oven: Preheat to 350°F (175°C) and bake for about 10-15 minutes until heated through.
- Microwave: Heat on medium power for 1-2 minutes, checking frequently.
- Stovetop: Warm in a skillet over medium heat, flipping occasionally until heated evenly.
Frequently Asked Questions
If you’re curious about Loaded Cheesy Pocket Tacos, here are some common questions answered.
Can I use other meats for Loaded Cheesy Pocket Tacos?
Absolutely! Ground turkey or chicken works well as flavorful alternatives.
What toppings pair best with Loaded Cheesy Pocket Tacos?
Sour cream, lettuce, and diced tomatoes are great choices. Feel free to get creative!
Can I make Loaded Cheesy Pocket Tacos vegetarian?
Yes! Substitute ground beef with beans or lentils for a delicious vegetarian option.
How do I customize my Loaded Cheesy Pocket Tacos?
You can add ingredients like jalapeños or olives for added spice and flavor. Make them your own!
How long does it take to prepare Loaded Cheesy Pocket Tacos?
Preparation typically takes about 30 minutes from start to finish, making it a quick meal option.
Final Thoughts
Loaded Cheesy Pocket Tacos are not only easy but also incredibly versatile. You can customize them with your favorite fillings and toppings, making them perfect for any occasion. Give this recipe a try and enjoy these delightful pockets of cheesy goodness!
Loaded Cheesy Pocket Tacos

Loaded Cheesy Pocket Tacos are a mouthwatering fusion of flavors and textures that deliver both convenience and satisfaction. These delightful treats feature seasoned ground beef enveloped in melty cheese and zesty salsa, all tucked inside a golden biscuit crust. Perfect for game day, family dinners, or any casual gathering, these taco pockets are highly customizable with your favorite toppings. Whether you’re looking for a quick weeknight meal or an impressive appetizer, these cheesy bites will win over everyone at the table.
- Prep Time: 10 minutes
- Cook Time: 15 minutes
- Total Time: 25 minutes
- Yield: Serves 8 tacos 1x
- Category: Dinner
- Method: Baking
- Cuisine: Mexican
Ingredients
- 1 lb ground beef
- 1 packet taco seasoning
- 1/4 cup water
- 1 cup shredded cheddar cheese
- 1/2 cup salsa
- 1 can refrigerated biscuit dough (8 biscuits)
- Optional toppings: sour cream, lettuce, diced tomatoes
Instructions
- Preheat the oven to 375°F (190°C).
- In a skillet over medium heat, brown the ground beef until fully cooked. Drain excess fat.
- Add taco seasoning and water to the beef; stir and simmer for 2-3 minutes.
- Flatten each biscuit into a circle and fill it with the beef mixture, cheese, and salsa.
- Fold over the biscuit and seal edges with a fork.
- Bake on a parchment-lined baking sheet for 12-15 minutes until golden brown.
- Serve warm with your choice of toppings.
Nutrition
- Serving Size: 1 pocket taco (85g)
- Calories: 260
- Sugar: 1g
- Sodium: 620mg
- Fat: 14g
- Saturated Fat: 6g
- Unsaturated Fat: 7g
- Trans Fat: 0g
- Carbohydrates: 24g
- Fiber: 1g
- Protein: 10g
- Cholesterol: 40mg